
A few weeks ago I attended a Sprinkle in honor of my dear friend and her soon to be newborn son. I knew exactly where I wanted to shop, this fabulous boutique with the most adorable baby items. It didn't take long before I found this sweet addition for her Baby Boy's nursery. EEK!!! It was a perfect fit!

However, to my disappointment, the only "gift wrap" they offered was a plastic bag with a sticker label of the store and colored tissue paper... um... no....
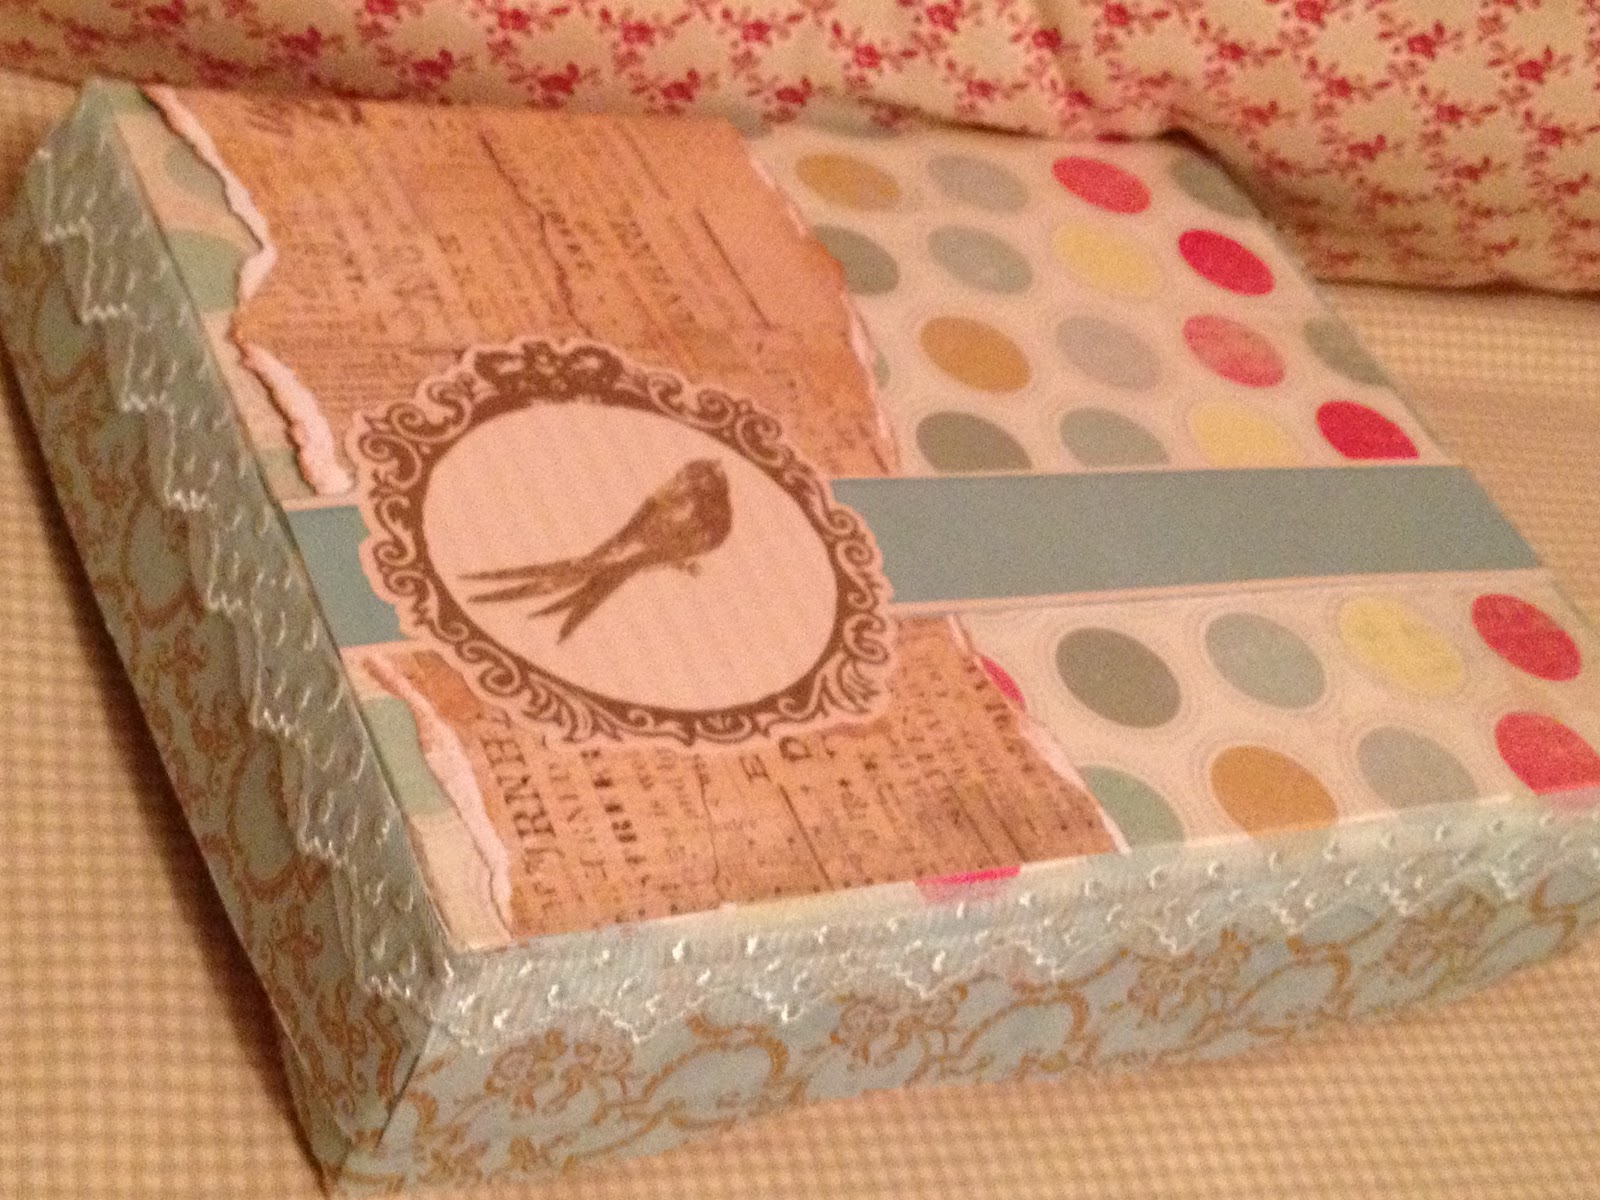
Off to work I went on a proper wrap for this sweet ornament. Rummaging through my gift wrap organizer, a.k.a. guest room dresser, I found a box that I could spruce up for the occasion.

The box began to take shape with the newly added vintage inspired scrapbook papers.

Placing pillow filler and wrapping it with coffee stained material gave the inside a soft, vintage padding for protecting the fragile piece.

Do you have any idea how many uses cereal boxes have????

The ribbon really trimmed the gift box perfectly. LOVE IT!!!


This is the card I made for the baby gift. It was inspired by the carousel horse in her Baby Boy's nursery, the mason jars used for flavored teas at the Sprinkle, and cupcakes for her blog The Canary's Cupcake.

I attended the Sprinkle with my best girl, my oldest. We made it a Girl's Weekend and had a great time shopping, laughing, singing, eating, WOW!!!!
Speaking of my oldest, she recently acquired a desk. She has been wanting one for awhile and was excited to finally have one. It was a very sturdy desk, especially for her age, however, it wasn't quite finished... It was painted with flat white paint and was only painted with one coat. It hadn't been sanded and was very rough to the touch. The desk also looked as if it had been used for target practice with a nail gun. There were 50 + nail holes, all unfilled. YIKES!!!

My husband and I immediately went to work on this newest project. He sanded the entire piece. I followed up by filling all the holes with the help of my oldest, she loved being able to get her hands dirty with Mommy. Tee hee hee!

The desk was painted with the gloss white paint I have used for our wood trim in our home. After two coats were applied, I noticed the top was warping. UGH! Not wanting to give up on this project, I had to find a way to work with the top. What about decoupage, using vintage dictionary pages?!? The pages would be a great inspiration for those study times at the desk, right?!? To give a fun tween look to the vintage pages, I inked them in green to match her room and her bright personality!


Accents were hand painted along the sides, accented by the colors of her room. After I completed the accents, I added letters to the front spelling out her name. Two coats of poly were added to protect all the accent paintings and decoupage.
SHE LOVED IT!!!!


Since I like to keep some things private, there isn't a picture to show of the front and her name, but here is the side and a little glimpse of how it turned out.
Currently I'm dying more coffee filters, my daughter thought a wreath would hang perfectly over her new desk, and I can't say no, lol!
I am linking up to these beautiful blogs, please enjoy the journey!
I am linking up to these beautiful blogs, please enjoy the journey!
Beautiful job on that desk, Stacie! I think it's great that she got to help out with fixing it up. Love your gift box, too. I'm sure your friend will love it as well as the gift you got her!
ReplyDeleteThank you Kathy! She loves helping and enjoys crafting as much as I do. She's my little clone, lol! Thank you for your lovely comment and thank you for stopping by!
DeleteLove it!! I wish I were more talented when it comes to fixing up furniture. Maybe someday.. :) Thanks for sharing--I'm your newest follower!
ReplyDeleteThank you Annie, I love new followers! This was fun to do, especially since it was a family project.
DeleteThank you again for the beautiful box and gift. As I told you they were my favs. Also, love the desk!
ReplyDeleteYou are too sweet Bryanna! You have been in my thoughts a lot lately, I can't wait to meet the new addition to your beautiful family!!!
DeleteWOW Stacie!!!! The gift box and the card are amazing!! And the desk... DOUBLE WOW!!
ReplyDeleteThanks so much for sharing this at The DIY Dreamer.. From Dream To Reality!
Thank you Christine! And thank you for hosting your amazing party each week!
ReplyDelete